

Can openers are a basic but crucial kitchen appliance. Even if you have one of the best can openers, there’s a chance you’ll use one at a friend’s house or a rental during a trip that is completely foreign to you. We have provided instructions on how to use can opener tool, so don’t worry.
In contrast to jar openers, which help break the seal of the jar so that the lid can be removed with ease, can openers simply puncture the top of metal cans and cut along the can’s rim.
Table of Contents
How to Use Can Opener Tool?
How should I use the different kinds of can openers? The solution can be found right here.
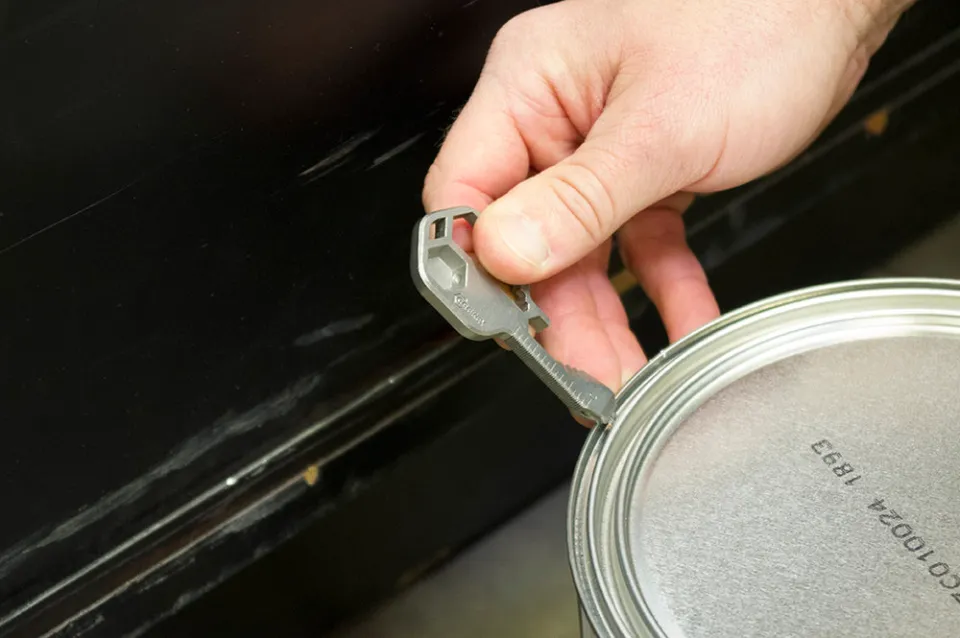
How to Use a Handheld Can Opener
Keep in mind that left-handed can openers are available from specialty retailers, but the majority of handheld can openers are made for right-handed users.
- Put the can on a flat countertop.
- The can opener’s arms are spread apart. This separates the notch-feed wheel and the cutting wheel.
- Set the wheels in alignment. On the right side of the can, with the knob on the outside, place the cutting wheel on top of the lid. Make sure the cutting wheel and feed wheel are parallel to the can’s side (not angled) and aligned.
- Squeeze the can opener’s arms together. As the can lid is punctured by the cutting wheel, you should hear it.
- clockwise, turn the knob. The can’s lip will be grasped by the feed wheel, and the lid will be cut off by the opener. Keep turning the knob until you’ve cut the lid around the entire can or left a tiny bit uncut. (While you circle the can, it will rotate.)
- Pull the lid off with care. Use a butter knife, being careful not to get cut on the can’s pointed edge.
How to Use a Smooth Edge Or Safety Can Opener
Smooth-edge or safety can openers operate like traditional handheld can openers but cut through the side of the can rather than the top.
- Place the can on a flat countertop.
- Line up the two wheels. The cutting wheel should be positioned on the can’s side, and the notched feed wheel should be positioned at the lid’s lip.
- You may find the knob on the top or side of your can opener, depending on the brand. The opener will naturally rotate around the can as you remove the lid and open it.
- To remove the top, use the notch lid pliers. To remove the top, hook the pliers under the lid and cut off a thin ring of metal with the can opener.
How to Use An Electric Can Opener
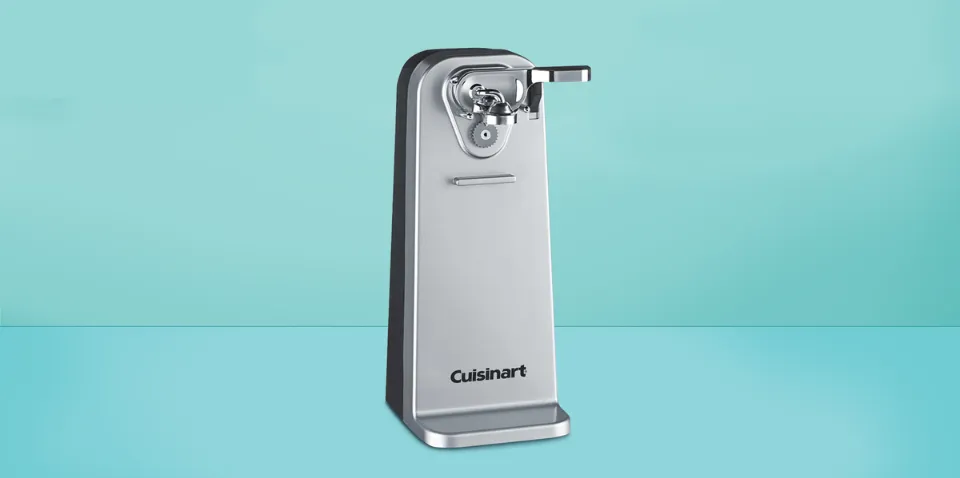
- The can opener needs to be plugged in.
- In front of the opener, place the can. Raise the lever, then line up the can with the opening, ensuring that the can lies flush against the back of the can opener and that the wheel and blades are lined up.
- Lower the lever and clamp the can into place. The magnet should rest on the top of the can lid, and the cutting blade should align with the inside of the lid.
- Turn the power on. The cutting blade should puncture the lid and the can opener will automatically rotate the can. You may need to keep a light grasp on the can as it turns to reduce the risk of spillage. It is best to separate the lid from the can after the can has finished rotating and cutting.
- Holding the can, lift the lever to release it from the can opener.
- Remove the magnet’s lid.
Read More:
How to Clean and Maintain a Can Opener?
After each use, wash your can opener, and let it completely air dry before storing it. The following are some general recommendations; however, for specific model-specific instructions, please refer to your user manual.
For Handheld Can Openers:
- To clean: Use a sponge to wash the entire can opener (handles, gears and wheel/blade) with dish soap and hot water. The gears and both sides of the blade can be cleaned more thoroughly by using a scrub brush or toothbrush. Spread the handles of the can opener out on a fresh towel and let them air dry after drying the device with a dish towel. The can opener will help avoid rust if you let it completely dry before putting it away.
- Can openers shouldn’t be put in the dishwasher because doing so will rust the gears. Dishwashing detergents can also dull blades which can affect the can opener’s performance.
- To get rid of rust or gunk, soak your can opener for a few hours (or overnight if it’s really rusted) in a jar or bowl of white vinegar or apple cider vinegar. With a toothbrush or small cleaning brush and some warm water, scrub the gears to get rid of the rust and gunk. Apply a little dish soap or baking soda to the gears and scrub again if any residue is left. After that, dry with a dish towel and let air dry completely before storing.
- To extend your can opener’s performance: You can periodically apply a small amount of food grade mineral oil to the gears using a dish cloth.
For Electric Can Openers:
- To clean, use a soft, damp cloth to wipe the can opener and a fresh, dry cloth to completely dry it.
- If your model’s cutting wheel or piercing lever can be removed, unplug the can opener and follow the manufacturer’s instructions for removal to get rid of any rust or gunk. After washing the piercing/cutting lever in hot, soapy water, thoroughly dry it off. If the cutting wheel cannot be removed, scrub any rust or buildup with a toothbrush dipped in baking soda. Use a clean, dry cloth to dry after wiping down surfaces with a soft, damp cloth or wet paper towel.